I guess I was bored enough to build a T420 from parts this time.
Acquisition
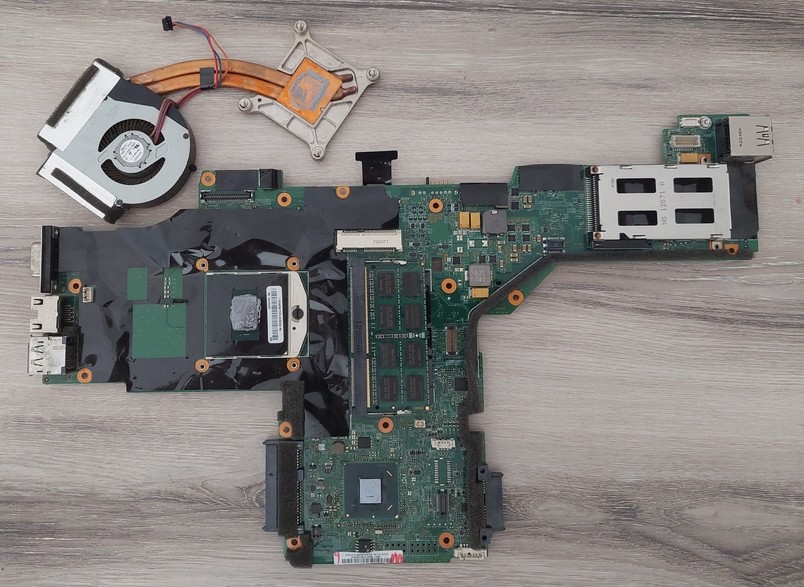
Mainboard
I got the one without discrete GPU. Since I plan on upgrading the CPU, I decided on picking the cheapest, which was one with an i5.
Screen
I got the HD+ one instead of the regular HD resolution, since I needed an LCD screen anyway. I had to make sure I got the matching cable as the stock ones wouldn't work. They both are a bit harder to find.
DC power jack
Despite both having 5 pins with the same pitch, the X230 DC power jack won't work since they have different pin arrangement.
Thankfully using the wrong DC jack won't permanently damage the board or anything. The system would just fail to turn on.
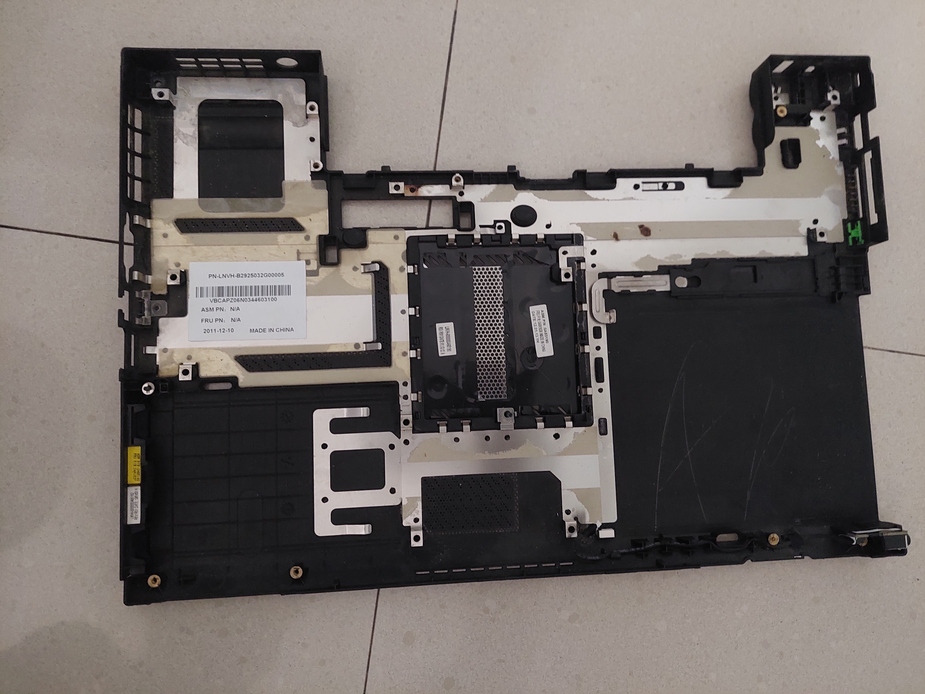
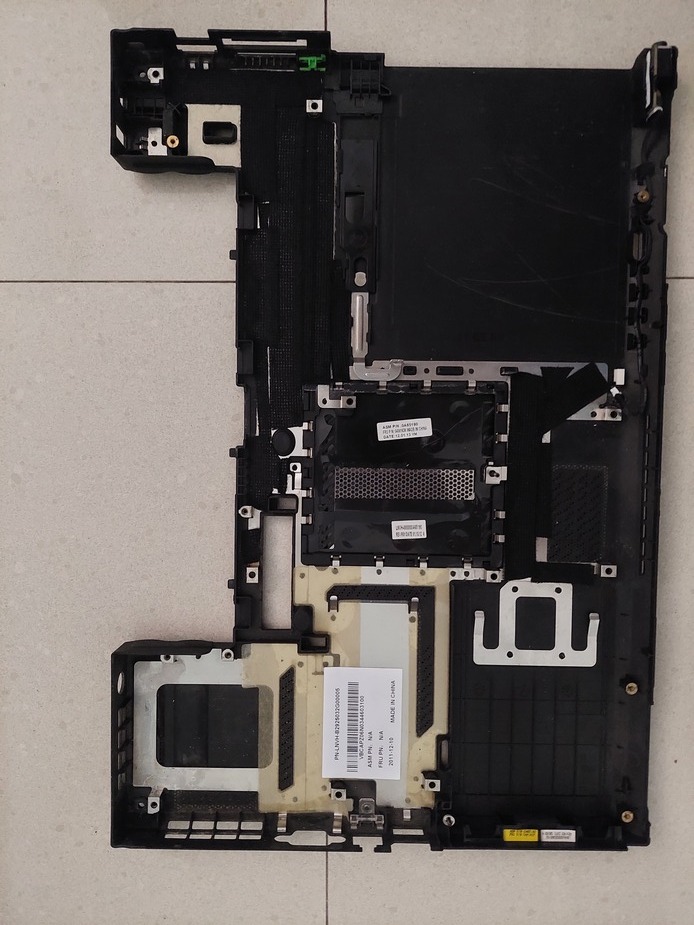
Chassis
I was lucky to get a really cheap set of casing. Everything is structurally sound, the hinges are good. It even came with a battery and an optical drive.
The drive-cover and the palmrest were both cracked, so I ended up having to buy replacements. Thankfully they were cheap as well.
Cleaning
There were some problems with the chassis I just got. Most was minor to me, but there was one that bothered me the most: it was so dirty!
It smelled like an old warehouse. I'm guessing that where it was before it got to my hands.
There were dead ants under the clear insulation layer of the bottom case. I removed them and gave the bottom case some alcohol wipe.
After that, I replaced them with a bunch of electrical tape.
The outer parts were covered by dust and residue of cigarette smoke. The rubberized coating had started to wear off. For cleaning, I first wiped it with ethanol, followed by acetone. Much cleaner afterward.
Unfortunately, there are some parts in which the outer layer completely worn off. Nothing much I can do without repainting.
Something similar happened with the frame, but in this case, I was able to spray-paint it matte black without looking too ugly. I did an ethanol wipe followed by acetone, just in case.
Stickers
Stickers can be removed using razor knife, and then wiped with alcohol to remove the adhesive residue. I did this for both the branding stickers on the top case as well as the touchpad cover.
For the outer LED indicators, I had to cannibalize the sticker from a X230. I took it out with razor, wipe it with ethanol gently to ensure its stickiness. I pressed it for a few seconds to ensure proper bonding.
Other adhesive residues can be removed with ethanol. Acetone can also be used, but with care as it can also eat up the paint. This wouldn't be my first choice as the ethanol would usually suffice.
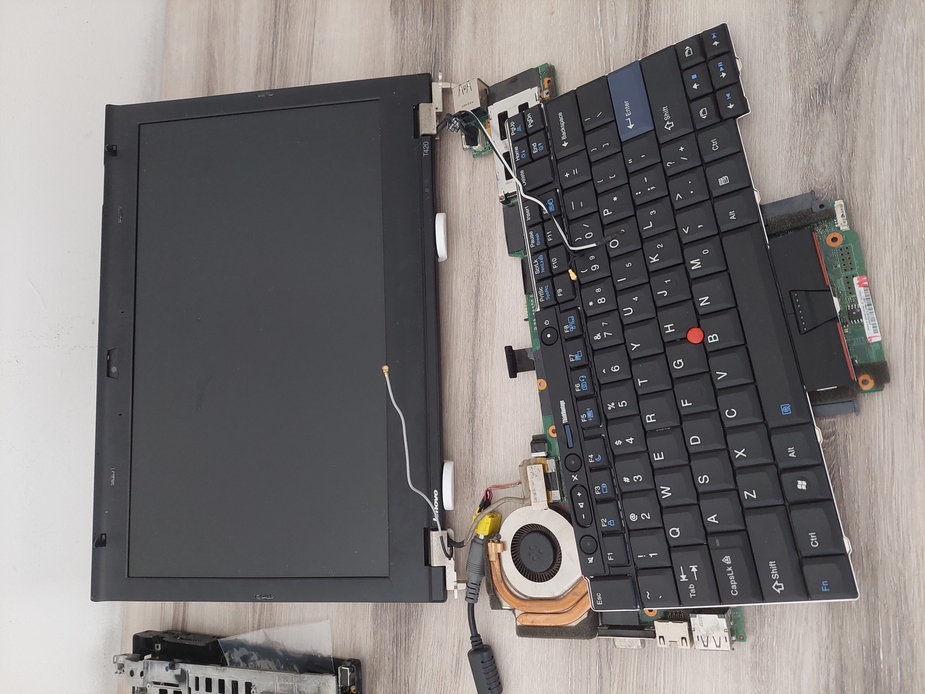
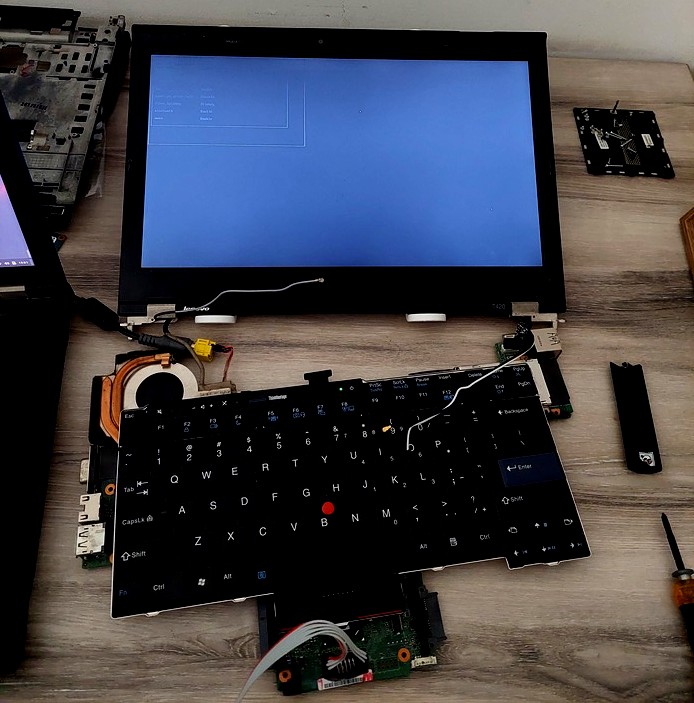
Testing
I had to make sure all the components I just got are in working condition. I wouldn't move forward without it as there would be no point.
All I needed was:
- mainboard
- screen & its connector
- DC jack & power supply
- keyboard (for the power button)
I know this looks rather primitive, but it works!
Assembly
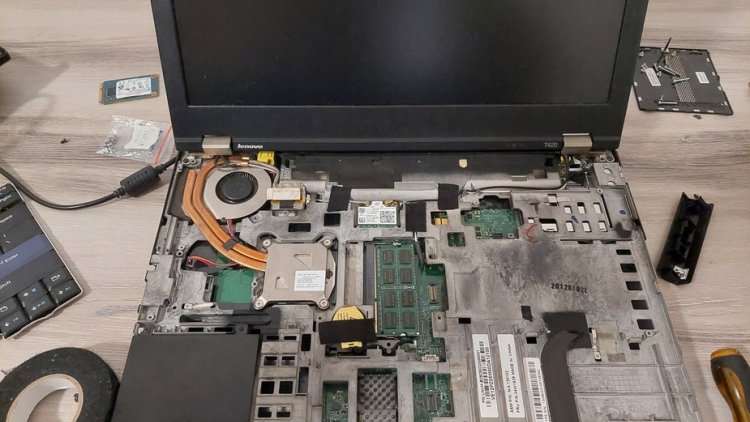
After I gathered all the hardware components, I put them together piece by piece.
I used the maintenance guide partsto help me take apart and then later put together all the parts. It is very comprehensive even down to details on snap points and screw sizes.
I'm omitting the steps covered by the manual, leaving what I deem interesting and different.
Chassis Frame & Main Board
Mostly about screws. Under normal circumstances, screws would be too mundane to put here. However, I made a few deviations from the maintenance manual. There was also some detail that was missing from it.
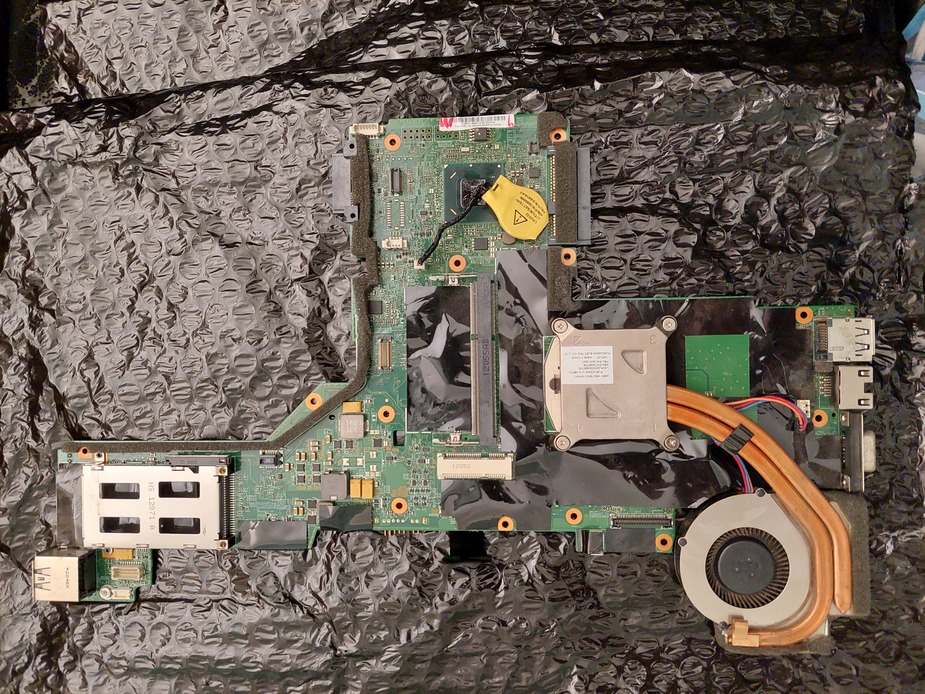
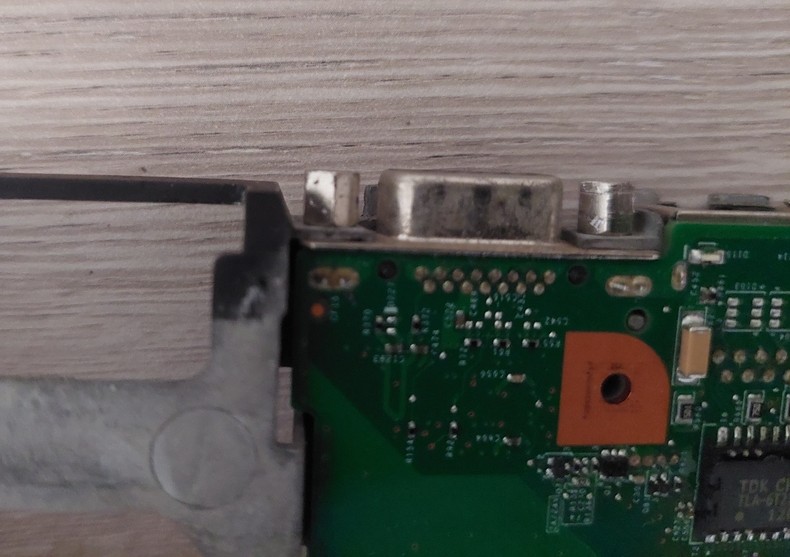
Along with standard M2 screws, the main board and chassis frame are held together by a pair of hex standoff screws that also serve as VGA port screws. The maintenance manual is rather vague about their spec, but I was able to tell it's the standard dimension for VGA female ports, at least for the hex head, with 5 milimeter length. One difference is that due to the chassis frame constraint, the screw part goes shorter than the usual, at 3-3.5 milimeter.
I happen to have a bunch of hex standoff screws intended for standard VGA female port. While the hex part is just right, the screw part is a little bit too long. First I cut them to desired length with a plier. They're made from stainless steel, so I needed a big enough plier for the job.
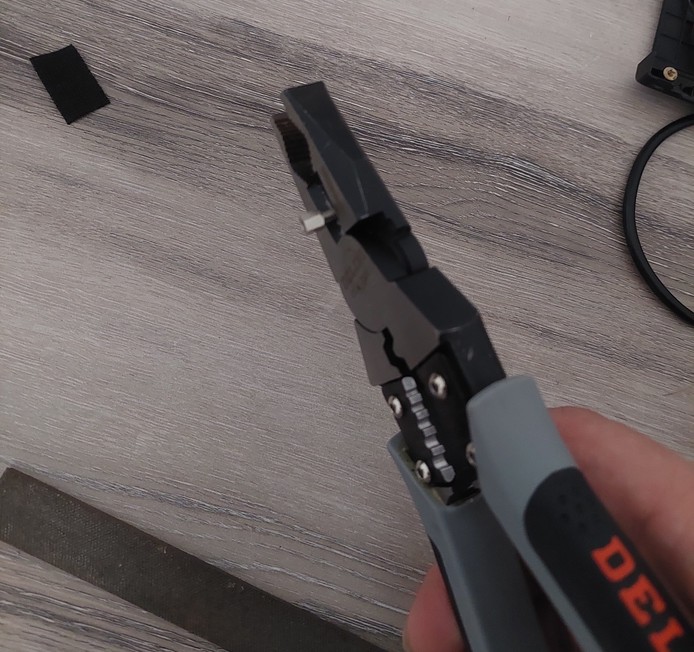
Then I filed them to give smooth finish.

When I installed them, they sit nicely flush with the VGA port.
Finally, I screwed in the rest.
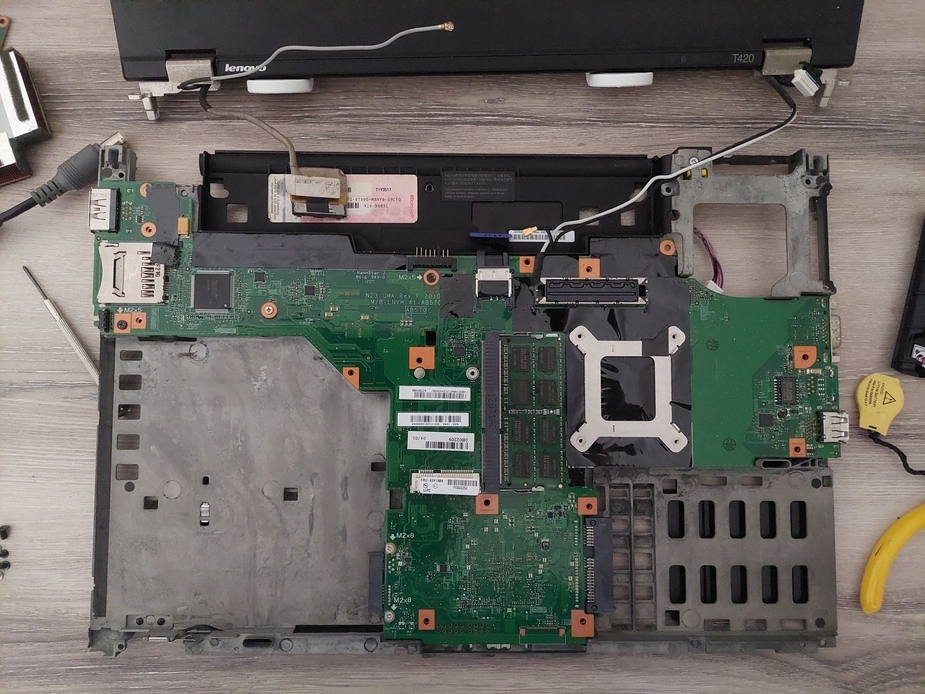
Interestingly, M2*4 would work for some of screw points that require M2*5.
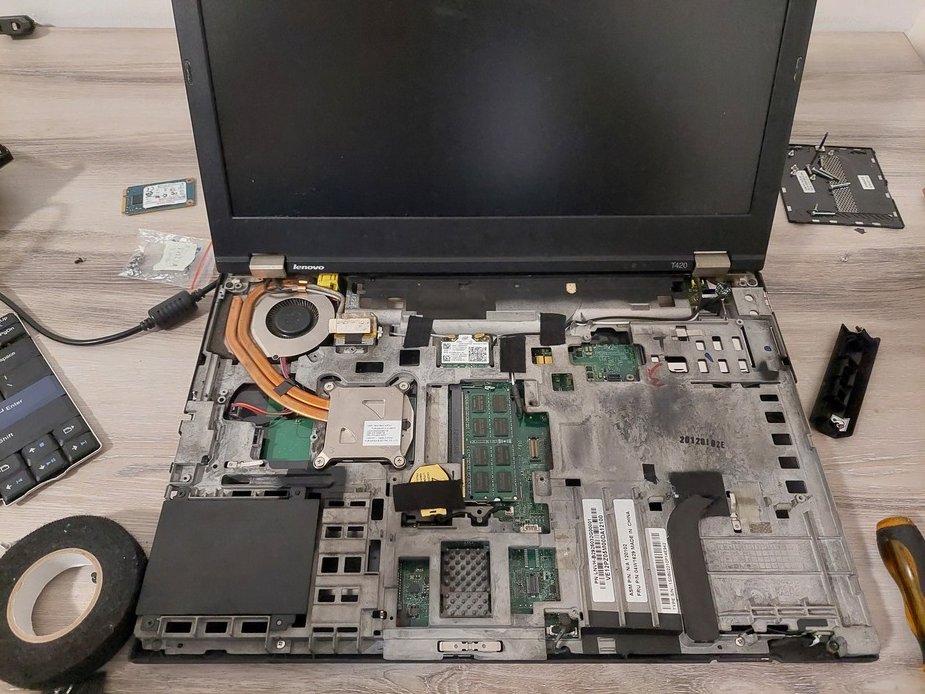
Bottom Case & Screen
Not much interesting things happened here, but some things that I seem to keep on forgetting when putting on the bottom case:
- The connector for audio jack sub-board can easily get taken down under the chassis frame if you don't take it out of the way. You're gonna need to lift a part of the chassis frame to wiggle it gets under.
- The RFKill switch can get misaligned, so make sure to get it into the same position. Otherwise, you might be spending a good chunk of your time in frustration figuring out why the WiFi is not working, and another good chunk taking your Thinkpad apart and putting it back together.
Palmrest
Not much here either, but I did find a minor crack on the side. Nothing major, so I soldered it a bit with 240 degree C iron and called it a day.
The bluetooth daughter card that was attached was an older one (standard for T420), and a spare X230 I have happen to not be using its newer bluetooth. So I swapped them.
Last but not least, I had to remind myself about the connector that I keep on forgetting to plug in before snapping the palmrest into the rest.
Upgrades
Now that everything works, time for some improvement!
Battery
These one would be the simplest.
I don't trust old batteries. I am aware they lose capacity over time. So I'm getting a new one.
Haven't done it yet, but it's on my list!
RAM & SSD
Another low-hanging fruits.
For the RAM, I maxed it at 16GB with two 8GB modules.
For SSD, I happen to have some spare 16GB mSATA. I haven't put anything on it yet as I mostly use live USB at the moment. Later on, I plan to just keep it as fallback boot drive or something.
I also plan on getting a 240GB SATA drive as my main drive.
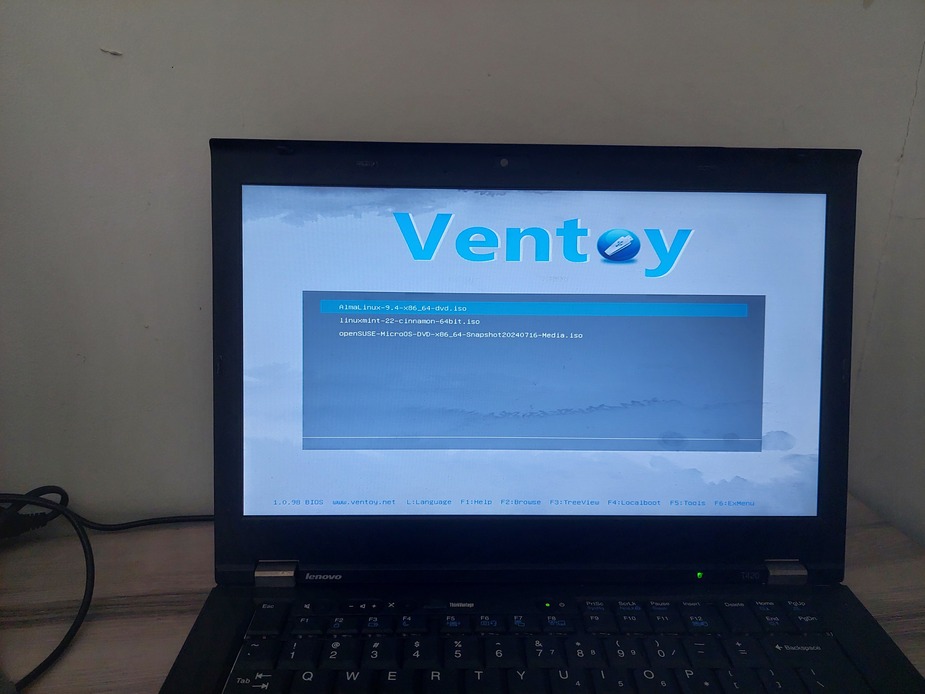
coreboot
As usual, when I get my hands on a post-classic Thinkpad, I tend to put coreboot on it.
I had to disassemble everything because the BIOS ROM chip is beneath the chassis frame.
Preparation
I started by dumping the BIOS image from the mainboard's ROM chip. Then I extracted the ifd, gbe, and stripped me images with me_cleaner.py
For the VGA blob, I extracted it with UEFITool.
I opened the find menu, selected the 'text' tab, entered 'PCIR' onto the search box, and checked 'no unicode'.
Several results came up. To tell apart what I was looking for, I used the VGA blob from W530 as reference. With the command file, I matched the ROM images' magic numbers.
$ file *.rom
vga-intel.rom: BIOS (ia32) ROM Ext. IBM comp. Video (-128*512)
vga-k2000.rom: BIOS (ia32) ROM Ext. IBM comp. Video (-79*512)
I was able to find the right match on the File GUID of 0AFCDD7A-345E-415E-926D-C5971B580400.
Upon extracting it, I got the same file type of BIOS (ia32) ROM Ext. IBM comp. Video (-128*512).
Building & Flashing
I went thru the usual process of configuring and building the coreboot image. Then I flashed it with to the ROM.
$ sudo flashrom -p ch341a_spi -c MX25L6405 -w build/coreboot.rom
flashrom v1.2 on Linux 5.15.0-113-generic (x86_64)
flashrom is free software, get the source code at https://flashrom.org

Using clock_gettime for delay loops (clk_id: 1, resolution: 1ns).
Found Macronix flash chip "MX25L6405" (8192 kB, SPI) on ch341a_spi.
Reading old flash chip contents... done.
Erasing and writing flash chip... FAILED at 0x00001000! Expected=0xff, Found=0x00, failed byte count from 0x00000000-0x0000ffff: 0x2796
ERASE FAILED!
Reading current flash chip contents... done. Looking for another erase function.
Erase/write done.
Verifying flash... VERIFIED.
I ensured that my build works with the same setup as above: with the screen, power, and keyboard. I also ensured to put the cooler as well.
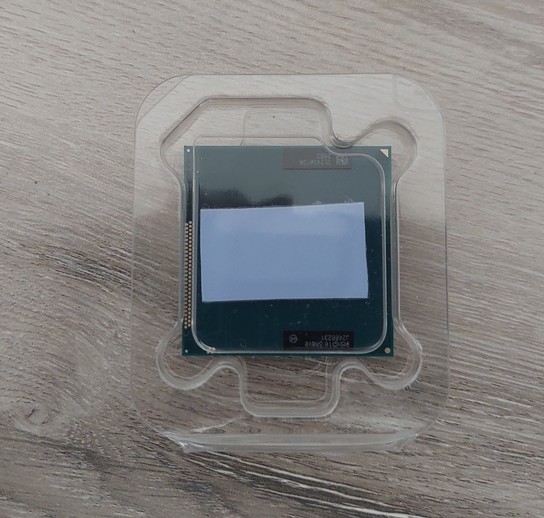
Ivy Bridge CPU
T420 actually could run Ivy bridge CPU despite being designed for Sandy bridge. I did my research and concluded that an i7-3632QM would be the best fitting, since it's the highest spec with the same TDP of 35 watt.
They both share the same sockets. So actually getting it on there was rather trivial, at least if you have a board that's already taken apart from its chassis.
I already had a bare mainboard sitting around that I haven't put back since installing coreboot. I did had to order the new CPU separately.
Installation
Here's the i7-3632QM.
First, I took out the heatsink.
After putting the new processor in, I put the heatsink, screen, power, and keyboard back to test it. Everything turned on but the screen.
This was to be expected as the VGA BIOS I had did not match the new integrated GPU.
VGA BIOS
I had to reconfigure and rebuild the coreboot image to accommodate the change.
I first tried using the VGA blob from the W530 that is meant for an Ivy bridge GPU. It did not work for some reason.
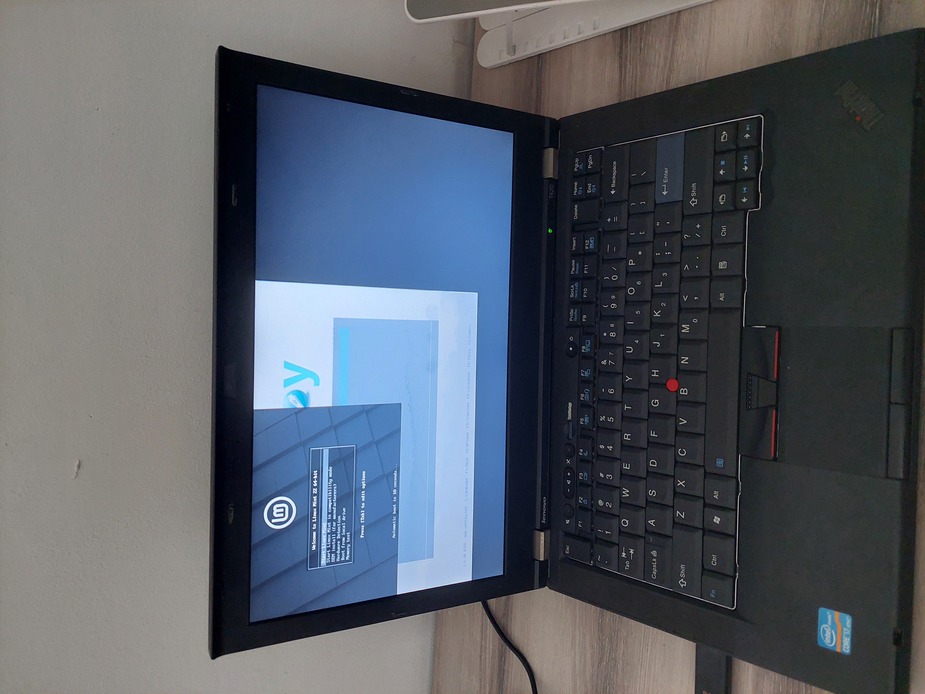
So I tried using libgfxinit, and it works!
I know, the picture above looks like it was taken with a potato, but hey, this thing turns on! I had to play with the contrast and brightness a bit to make the screen clearer (not that it matters).
I'll be honest here: this looks hideous!
I wanted to see if i can take another shot to get the VGA blob running. I remembered the time when I was having an issue getting the VGA blob running on the Nvidia dGPU of my W530. The solution really was to check that the device ID match.
I looked on my X230 and W530, both with Ivy bridge, and noticed they both have 8086:0166. Meanwhile, on the problematic coreboot config, it got 8086:0126, which matches Sandy bridge. I checked on my T420 with the 3632QM installed, and it got 8086:0166.
So I put the W530 VGA blob into the coreboot config with 8086:0166 as its device ID. I built it and installed it into the T420.
Now we're talking!