
After seeing that the flashing method works from the previous post, I decided to take it to the next level and built coreboot myself.
Preparation
Acquiring & building toolchain
Installed the necessary packages with:
apt install git build-essential gnat flex bison libncurses-dev libssl-dev wget zlib1g-dev python-is-python3 pkg-configPulled the latest stable source code from github.
git clone https://github.com/coreboot/coreboot
cd coreboot
git submodule update --init --checkout
git checkout 4.17
The above steps are actually from the coreboot build howto with some changes:
- github is way faster than their git server (review.coreboot.org)
- the 4.17 tag works, contains their latest stable (at the time of writing)
python3-is-pythonpackage is necessary when thepythoncommand (from Python2) does not exist in the system
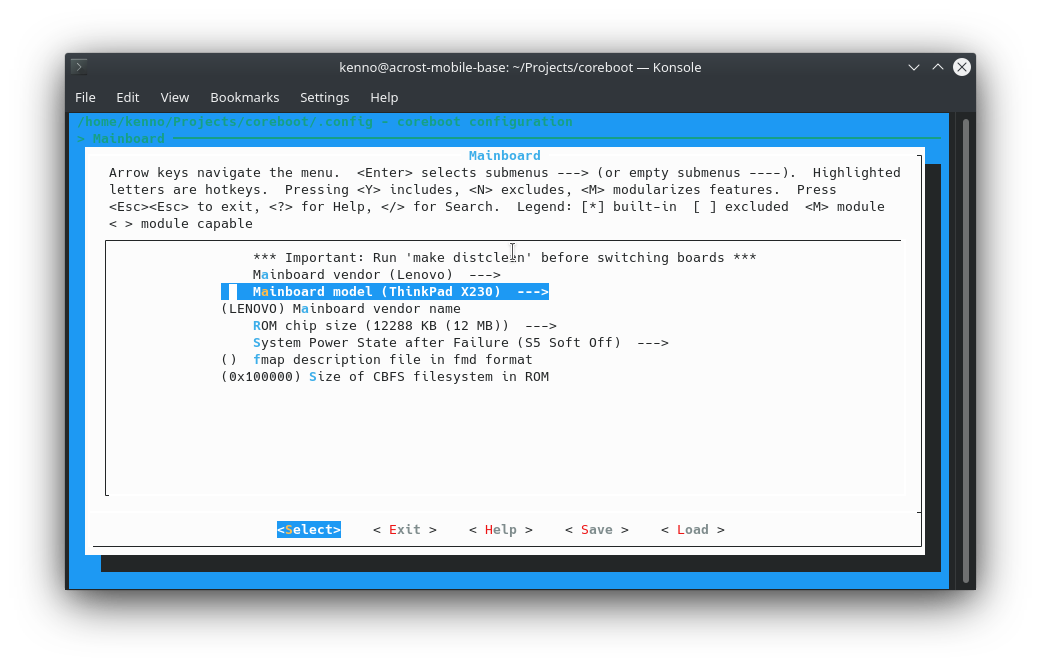
I ran make menuconfig and chose the appropriate board on the 'Mainboard' menu.
Finally, I ran make crossgcc CPUS=4 and waited a whole day as the toolchain is being prepared.
Trying out the image
Without further configuration, I ran make -j8, creating a 12 MiB image of build/coreboot.rom.
After rebooting with iomem=relaxed option, I tried flashing the generated image into my X230 with sudo flashrom -p internal -w build/coreboot.rom.
T'was a mistake, as the build did not work. When it fails to boot, the power light blinks once and then nothing.
Now where are my screwdriver and CH341a?
Extracting blobs
Turned out I was missing the a few blob components. There are three parts that I needed to include in my ROM build:
- flash descriptor
- Intel ME firmware
- Intel Gigabit Ethernet firmware
All these can be retrieved from the original BIOS image. So I dug thru my files for the bios backup from previous post before installing skulls.
To make the process easier, I concatenated the two images into one. The bottom ROM goes first.
cat bios-bottom.rom bios-top.rom > bios-original.romExtracting descriptor with ifdtool
The coreboot source package provides ifdtool source code that I had to build.
cd util/ifdtool
make -j8
sudo cp ifdtool /usr/local/bin
To keep things clean, I put the original.rom on a separate directory. I ran the ifdtool -x original.rom, and these files then appeared:
- flashregion_0_flashdescriptor.bin
- flashregion_1_bios.bin
- flashregion_2_intel_me.bin
- flashregion_3_gbe.bin
I then placed all these except for the bios bin file on a new directory called custom under the coreboot source tree.
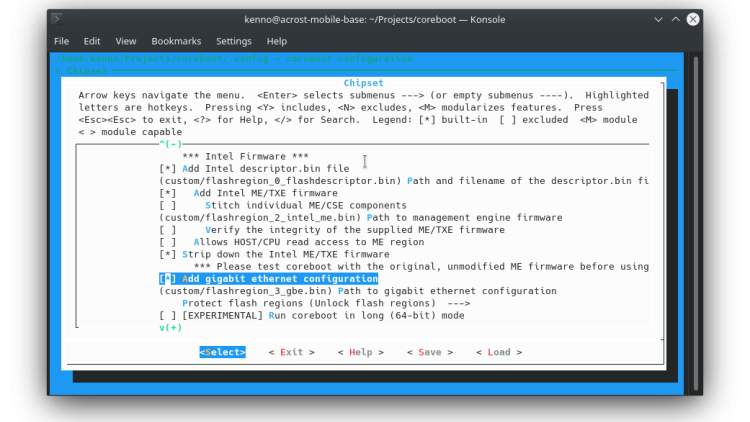
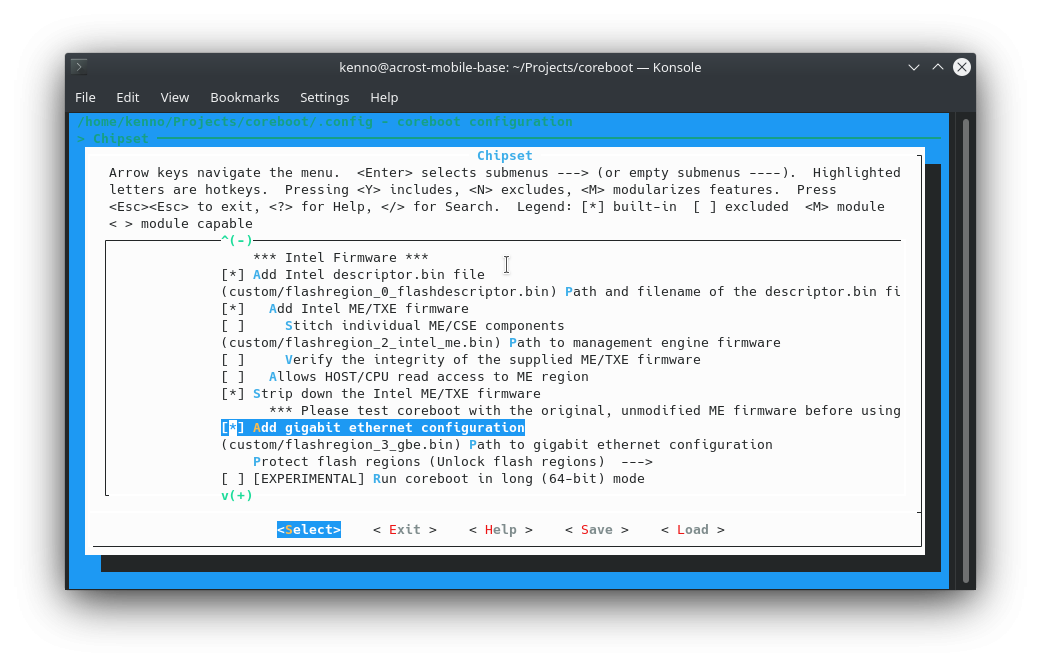
To include it into the build, I went to the menuconfig. On the 'Chipset' menu, I ticked these option and put the location of their corresponding files:
- Add Intel descriptor.bin file
- Add Intel ME/TXE firmware
- Add gigabit ethernet configuration
After building the image, I flashed the build/coreboot.rom.
After flashing it, it runs. However, for some reason, grub2 does not appear after the SeaBIOS. It kinda got stuck in a black screen for the countdown duration until the timeout, effectively skip the grub2 boot screen.
The default configuration was using libgfxinit, without the VGA blob. Although it would work this way, this is not acceptable for me. I decided to use the VGA Option ROM.
Acquiring VGA ROM
After changing the setting, I flashed the BIOS again. Again, that was a mistake. The laptop turned on but the screen remained completely black. Thankfully I didn't screw the keyboard and palmrest back on yet.
What I was missing this time was the vgabios.bin. Tried to extract it from original.rom with bios_extract -- won't work due to the ROM being UEFI. Tried it with uefitool, but cannot find the blob I was looking for.
The Skulls source package seems to include vgabios.bin. So I helped myself with it and put it on my custom directory.
Again, I went to the menuconfig, this time I went to the 'Device' menu. Ensuring the option "Graphics initialization" is set to "Run VGA Option ROMs", I went down the menu to tick the option "Add a VGA BIOS image" and put the path to vgabios.bin.
After building and flashing, it worked! The BIOS message and the grub2 appeared as expected.
Further customization
To customize the ROM, I needed to modify what's called CBFS (stands for coreboot filesystem), a rudimentary file system within the ROM where the files can be stored. This is done with the cbfstool program, available from the build directory after the ROM compilation.
sudo cp build/cbfstool /usr/local/binAlso, I always keep a backup on external drive for flashing in case I end up flashing non-working ROM.
Getting UEFI with Tianocore (Fail)
It's 2022, and UEFI is kinda the norm nowadays. With that in mind, I tried to get UEFI on the ROM.
For building, the payload requires the packages uuid-dev, nasm, and python3-distutils to be installed.
Some changes I made:
- set "Size of CBFS filesystem in ROM" to
0x200000due to the payload taking more space - set "Add a payload" option to "Tianocore payload", obviously
- set "Tianocore payload" option to "CorebootPayload" due to UEFIPayload being too new for X230
After building and flashing, I rebooted. Hardware seemed to be initialized, with the all the LEDs popping up as normal. However, the screen seemed to get stuck with a blinking underscore on the corner of the screen.
In the end, I had to scrap this plan and go with the SeaBIOS instead.
Once again, my screwdriver and CH341a came in handy. This time, my ROM backup came to the rescue.
Changing boot order
The boot order can be modified by having a file called bootorder in the CBFS of the ROM. It's just a regular text file, but the content needs to be in specific format defined by the Open Firmware standard. The easiest way is to get the devices from what the coreboot detected.
Since I do not have debug console, the best way for me is thru the coreboot memory. To access it I need a program called cbmem.
This program is available in the coreboot package as source code. So to build cbmem from source:
cd util/cbmem
make -j8
sudo cp util/cbmem/cbmem /usr/local/bin
To get boot devices, I ran sudo cbmem -c | grep "Searching bootorder"
Searching bootorder for: /rom@img/nvramcui
Searching bootorder for: /rom@img/coreinfo
Searching bootorder for: /pci@i0cf8/*@1f,2/drive@0/disk@0
Searching bootorder for: /pci@i0cf8/*@1f,2/drive@2/disk@0
With this, I created a file called bootorder containing:
/rom@img/nvramcui
/rom@img/coreinfo
/pci@i0cf8/*@1f,2/drive@0/disk@0
/pci@i0cf8/*@1f,2/drive@2/disk@0
After moving the line order, I added the file to the ROM with cbfstool coreboot.rom add -f bootorder -n bootorder -t raw
After flashing it, the boot order was still not as I wanted. It ended up taking a few attempts of trial & error to get it right.
I ended up including the bootorder onto the config to build with. For this, I put the bootorder file on custom, went to the "Payload" menu, and under the option "SeaBIOS bootorder file" put custom/bootorder.
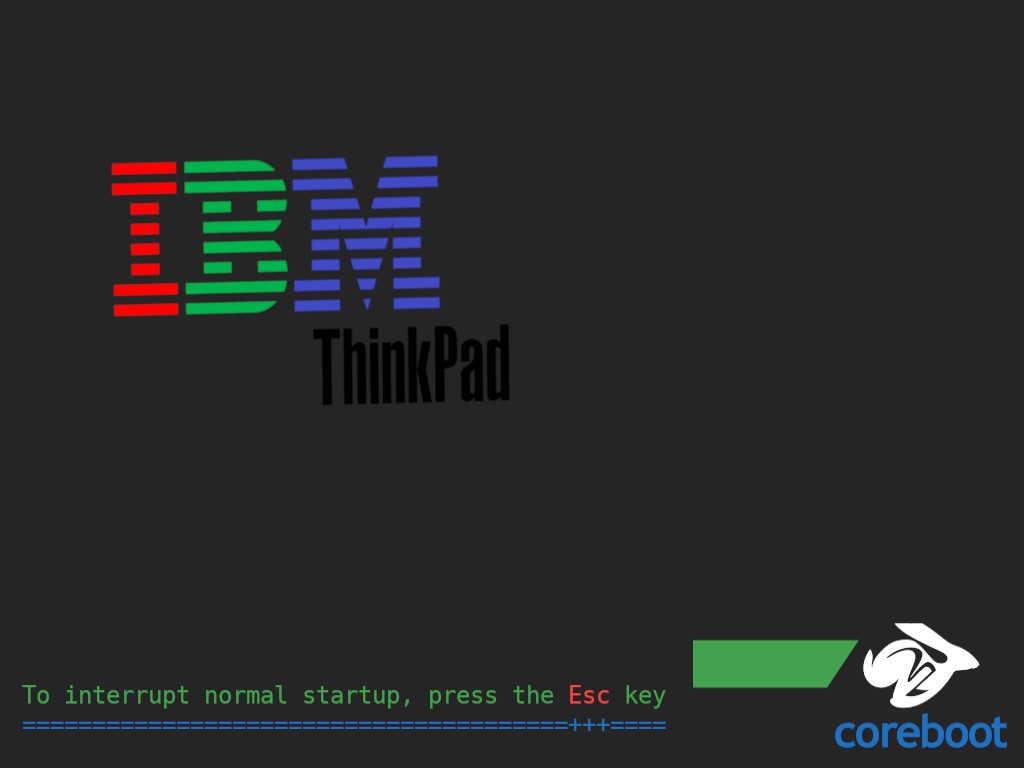
Adding bootsplash image
For this, I went to the "General" menu and ticked the "Add a bootsplash image" option, and then set the "Bootsplash path and filename" option's value to custom/bootsplash.jpg. I made sure to put an image with the size of 1024*768 on that path. I happened to have found a perfect image for this.
Adding secondary payload
I like the nvramcui and the coreinfo tools that I tried with Skulls ROM. So I decided to include them to my build.
To do this, I went back to the "Payload" menu and ticked both the options for enabling coreinfo & nvramcui on the "Secondary payload" submenu.
In order to make sure that the NVRAM setting is actually read, I set "Option backend to use" to "Use CMOS for configuration values" on "General" menu.
Changing the size of CBFS
On "Mainboard" menu, there's an option called "Size of CBFS filesystem in ROM" that does exactly as it says.
The unit is in bytes. The default value is 0x100000, which in decimal is 1048576 bytes, or 1 MiB.
Setting it too large causes the build to fail as the allocated space would clash with the other parts of the ROM such as the firmware descriptor and the ME firmware.
This is a legacy image composed entirely of a single CBFS.
make: *** [Makefile.inc:1151: build/coreboot.rom] Error 1
make: *** Deleting file 'build/coreboot.rom'
After some trial & error, I've came up with the value of 0x700000 to be ideal. With the current payloads in the ROM, I'd have about 6.5 MiB (6730468 bytes to be exact) that I can use for whatever I want. Currenly thinking to play with a tiny kernel+busybox+musl build on it, no solid plan yet.
Miscellaneous
Other configurations I've made:
- Enabled "Generate ACPI code to implement TPM physical presence interface" on "Generic Drivers" menu
- Enabled "Hardware init during option ROM execution" on "Payload" menu
The final config file can be downloaded here
reference:
- https://www.coreboot.org/Intel_Sandybridge_Build_Tutorial
- https://www.coreboot.org/SeaBIOS#Configuring_boot_order
- https://www.coreboot.org/VGA_support#UEFI_Method
