
So I decided to by myself a small but powerful enough laptop. Online, I found this nice small Thinkpad laptop with an i7 processor. As with any reasonable person, I did my homework before making my final decision. Not only that it can have RAM up to 16 GB, mSATA SSD (along with 2.5" SATA), and dock connector -- it can be fitted with coreboot, and it can be done thru software without opening up the chassis!
!!! Spoiler: I ended up opening up the chassis.
The device that I bought came with 4 GB of RAM and 320 GB HDD with Windows 10 in it. It also happen to have bluetooth (with a USB-based daughterboard) and a healthy battery. One of the first thing I did was swapping the RAM with a pair of 8 GB modules, which thankfully I happen to have handy. At this point I wouldn't dare upgrading anything else as the coreboot procedure may render the device inoperable (the risk is small, but still...).
Upgrading the EC firmware
Before replacing the BIOS & UEFI, I upgraded the EC firmware with one that allows me to have aftermarket battery by removing the whitelist. The firmware actually comes with an option for replacing the keyboard with the oldschool one from X220, but I didn't bother since the X230 keyboard is good enough for me.
I simply followed the instruction from this github repo. It has everything that I needed.
One caveat is the battery whitelist removal is not enabled by default, while the X220 keyboard is. This part, although mentioned in the main README, is not very clear. Thankfully, it is documented within the same repo. The details can be found in docs/CONFIG.md.
With the generated bootable image written into a thumb drive, I booted from it on my X230, and let it do its own thing. After it finish, I rebooted the laptop and it booted normally. I honestly couldn't notice a difference, and I have no aftermarket battery to test with, but perhaps in the future it can come in handy.
Software flashing the BIOS
Introducing 1vyrain, a software-based BIOS flashing for Thinkpad ??30 series. It is based on an exploit from vulnerabilities found in the older version BIOS of these machines. One of its requirements is to have an old enough version of the machine's BIOS. If a newer version is already installed, then the older version can be installed with IVprep, a tool that is created by the same person.
Since the laptop already meet the requirement, I could go right ahead. The 1vyrain itself comes in a form of a bootable image which contains Linux with customized boot process. Once booted from a thumb drive, it printed out instructions to follow. After pressing continue, the screen was filled with gibberish and the laptop went to sleep. After manually waking it up, it carried on with its thing and then ask whether to flash the BIOS that it came with or some other image from some URL.
I went with the first option just to see what the normal process would look like. After rebooting, I... honestly still didn't notice any difference. One easily noticable differenct was supposed to be that a non-whitelisted WiFi card can be installed, but I was too lazy to try it as it involve opening up the chassis (and getting a new WiFi card).
Now that everything seeme to work properly, time to get the coreboot image.
Getting the coreboot build
There is a coreboot build called Skulls. Skulls is a coreboot distribution, kinda like Libreboot, tailored specifically to the not-so-old models of Thinkpad series. It comes with prebuilt ROM images for different laptop models. Each model comes with the free and non-free version, depending on whether the blob is desired.
Seems the 1vyrain's sole option for flashing custom ROM (aside from the one it's packaged with) is thru URL. I find it to be quite opaque and there isn't much documentation aside from the one that's given. Hitting Alt-Left or Alt-Right moves the view to another tty just like regular Linux, yielding a login prompt. However, there's nothing that tells what to login with...
Since typing long URL from the web can be a pain, I decided to set up my own local server on a PC I happen to have handy. All I did was installing the nginx and put the ROMs into a directory I created under the nginx default root of /var/www. Of course, I ensured the filenames are short enough to be typed by hand. After making sure that it can be accessed from another computer, I gave it a go.
Software flashing the BIOS (again)
Back to the 1vyrain, it told me I needed to downgrade my BIOS version, so to the IVprep we go.
The IVprep mentions that it needs to run in Windows. The author did mention that he couldn't find replacement outside of Windows since the whole thing depends on Windows' WinFlash64. Since this was from 2020, I wonder if anything has changed, especially with the advance of fwupd and all...
Lucky for me, I happened to still have the hard drive that came with the laptop with Windows 10 in it. After booting to it, then downloading the IVprep package and running its script, it was all good. Booting the 1vyrain again now told me to proceed.
So proceed I did. I went with the URL option this time. Despite the initial despite some problem finding the file (turned out because of the laptop being not on the same local network as the server), entering the URL worked like a charm.
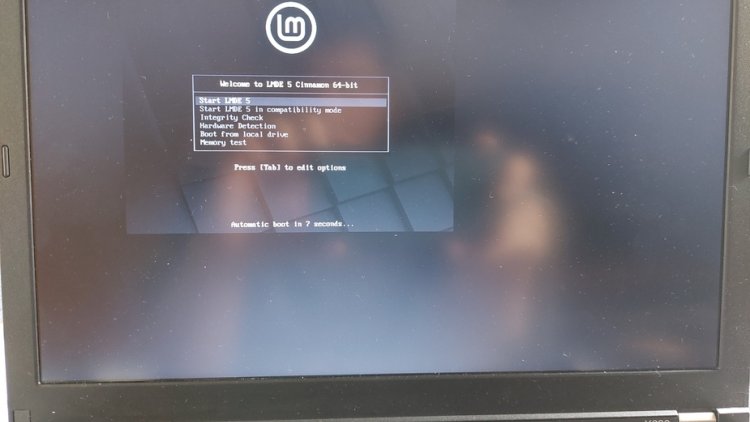
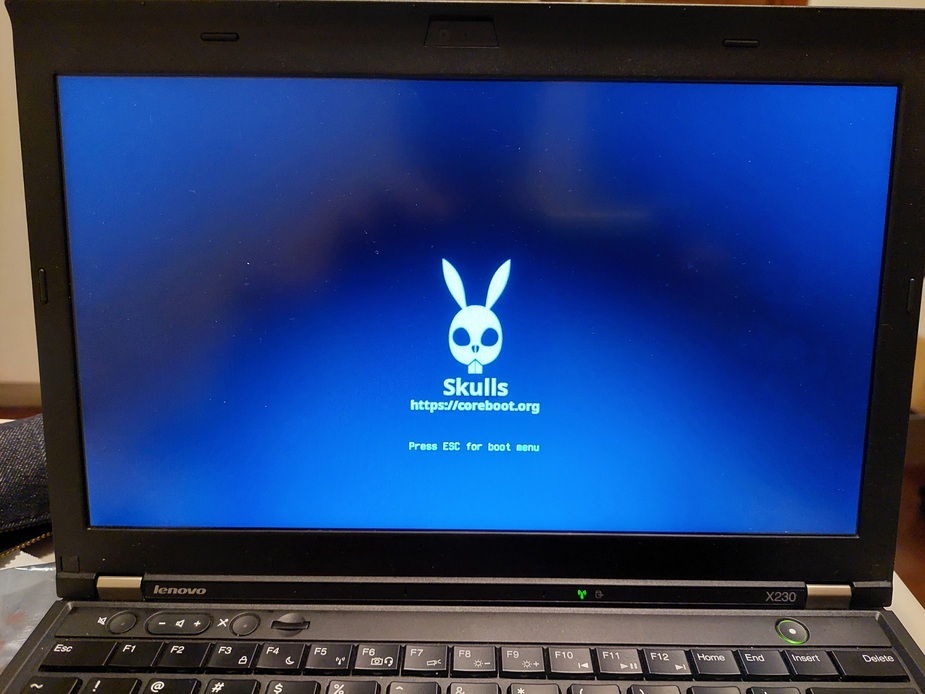
After the flashing is completed, I rebooted, and the Thinkpad BIOS splash is gone, with the Skulls logo in its place. But there is something off.

Wait...

It shouldn't be like this...
The 1vyrain doesn't seem to work anymore. Trying to boot it simply gets the boot stuck. My suspicion is because there's no UEFI on the new firmware setup.
This may seem a bad situation to be in, but on the bright side, the BIOS can be flashed thru the usual mean of using flashrom. So I booted into a Linux Mint Live USB. Having iomem=relaxed onto the boot options is a must, of course, since I was trying to flash the BIOS.
I tried running flashrom -p internal and voila, it shows something. Then I downloaded Skulls and ran the script.
I ran sudo ./skulls.sh -b x230, and this output appeared:
1) ./x230_coreboot_seabios_d5c31acee4_top.rom       3) Quit
2) ./x230_coreboot_seabios_free_d5c31acee4_top.rom
file not specified. Please select a file to flash. Please read the README for details about the differences:
Since I wanted the non-free one this time, I typed 1 and pressed enter.
x230_coreboot_seabios_d5c31acee4_top.rom: OK
input: x230_coreboot_seabios_d5c31acee4_top.rom
output: output/x230_coreboot_seabios_d5c31acee4_top_prepared_12mb.rom
Warning: Make sure not to power off your computer or interrupt this process in any way!
         Interrupting this process may result in irreparable damage to your computer!
Flash the BIOS now? y/N:
I typed y and pressed enter.
flashrom v1.2 on Linux 5.10.0-18-amd64 (x86_64)
flashrom is free software, get the source code at https://flashrom.org

Using region: "bios".
Using clock_gettime for delay loops (clk_id: 1, resolution: 1ns).
coreboot table found at 0x7ff3e000.
Found chipset "Intel QM77".
Enabling flash write... SPI Configuration is locked down.
Enabling hardware sequencing due to multiple flash chips detected.
OK.
Found Programmer flash chip "Opaque flash chip" (12288 kB, Programmer-specific) mapped at physical address 0x0000000000000000.
Reading old flash chip contents... done.
Erasing and writing flash chip... Erase/write done.
Verifying flash... VERIFIED.
Power off now? (please do!) Y/n:
Once again, I typed y and pressed enter. This time, the laptop powered off.
Much better!
